Sharing WiFi With a non-WiFi capable Device Over Ethernet
If you’re like me and work with embedded systems at a place with strange enterprise networking policies, then this article is for you.
For some reason you cannot connect your embedded board over WiFi. Maybe your board doesn’t have a WiFi chip, maybe it does and you don’t have the right driver, or maybe you have a WiFi chip but can’t use it because your network blocks embedded devices from connecting to it. You need the internet to download updates and are too lazy to grab a usb or transfer files from a workstation that is connected to the internet over WiFi (or maybe something else IDK).
Your setup might look something like this:
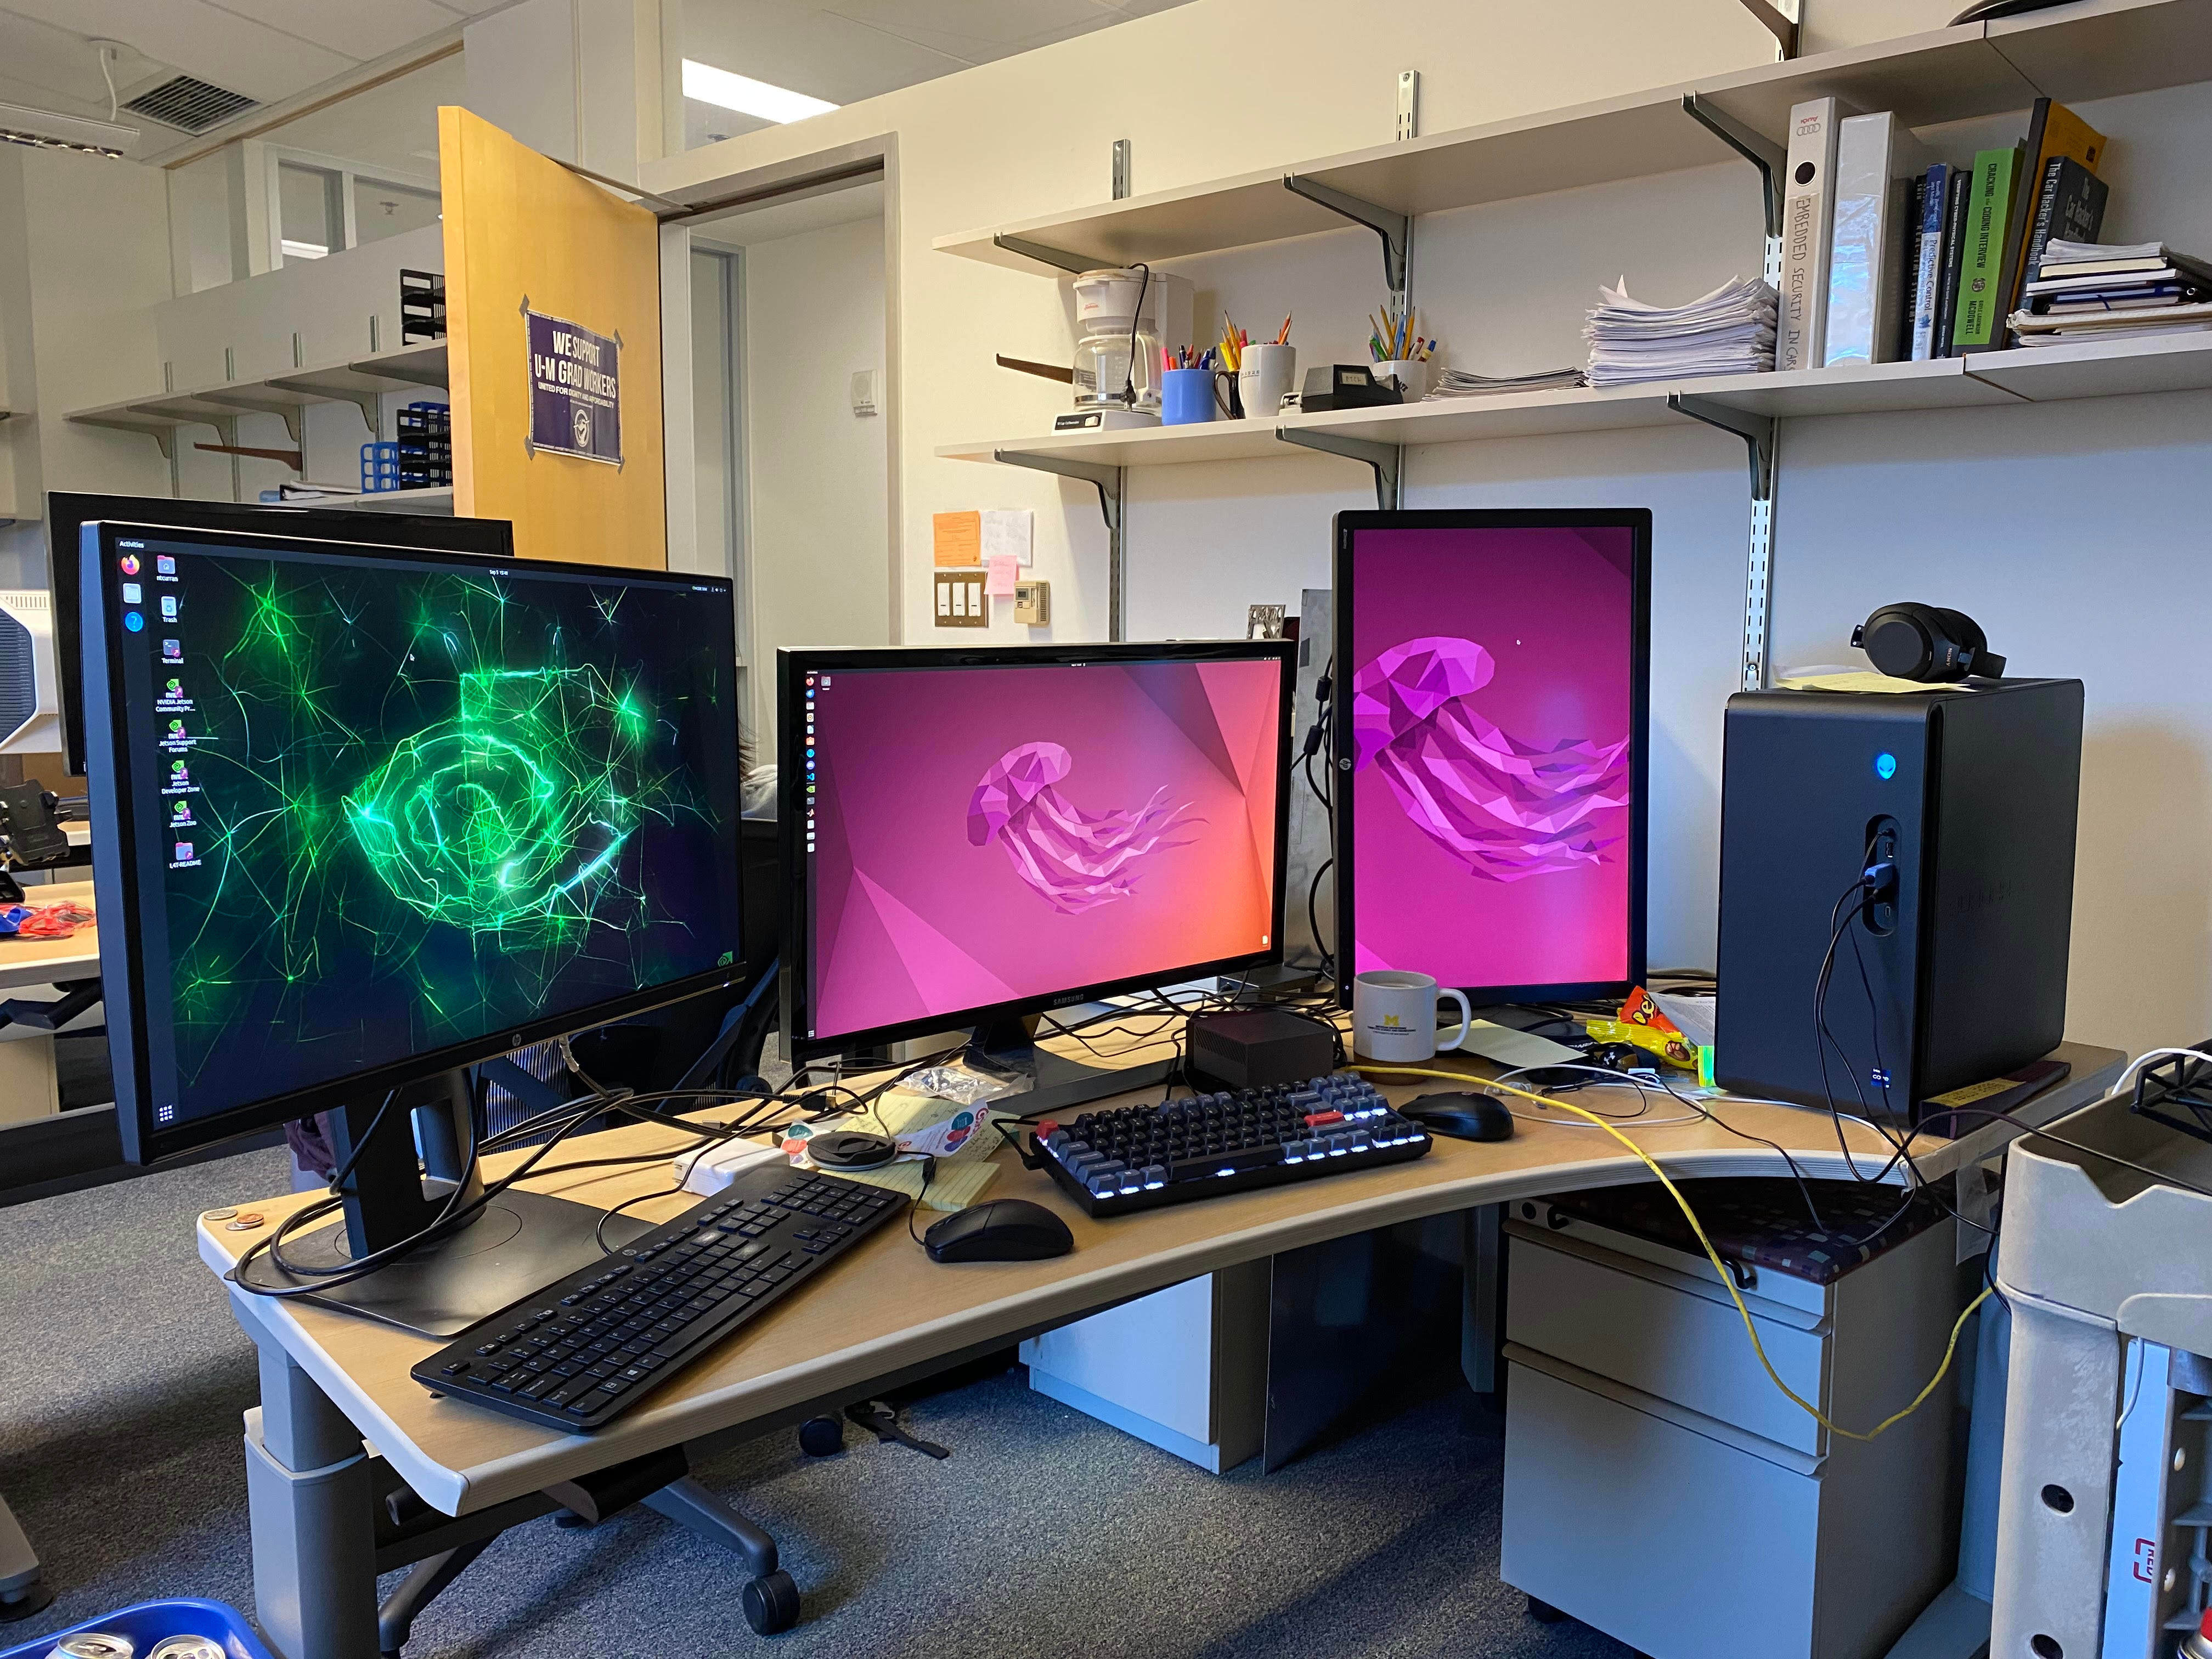
We will call the device with WiFi capabilities our “WiFi machine” and our other device our “non-WiFi machine”. Prepare our setup by connecting the two devices with an ethernet cord. When I did this setup, my WiFi machine is Ubuntu 22.04 and my non-WiFi machine is Ubuntu 20.04.
On the WiFi machine
- Go to Settings > Network > Wired > Click the gear icon on one of your wired setup configurations. At this point, you can create a new one if you’d like by pressing “+” next to “Wired”.
- A dialog pops up. Press IPv4 > Shared to other computers > Apply.
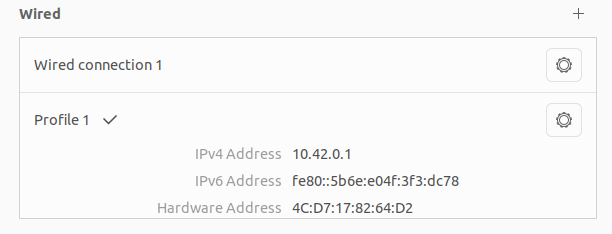
- Click the profile you just updated (to refresh it) and take note of the IPv4 address. Mine is
10.42.0.1, seen in the screenshot below:
- Restart network services in terminal using
sudo systemctl restart NetworkManager - In your terminal run
ip a. Locate your ethernet connection, which should be something likeeth0orenpXsY(XandYcan vary). Double check that your IPv4 address is there and take note of the naming of the ethernet. Ensure that it showsstate UP. If it is down, usesudo ip link set eth0 up, replacingeth0with whatever its name actually was. - Enable IP forwarding using
sudo sysctl -w net.ipv4.ip_forward=1. You can permanently set this by adding the linenet.ipv4.ip_forward=1to the file/etc/sysctl.conf. Be sure to appl the changes usingsudo sysctl -ponce you’re done. - You can disable your firewall to test connectivity. You can do so with
sudo ufw disable. For security, it is good practice to reenable it when you are done sharing ethernet withsudo ufw enable. You can also allow forwarding of the firewall if you want it to remain active by doingsudo ufw allow from 10.42.0.0/24. You replace the IP address with whatever you took note of before and adding0to the last part of it.
On the non-WiFi machine
- Open a terminal and let’s test the connection.
- Ping the IPv4 address of the WiFi machine:
ping 10.42.0.1. If we failed at this stage, check your ethernet connection and check that you’re using the correct IPv4 address from the WiFi machine. You can find it as described above. - Ping an external IP address (e.g., Google’s):
ping 8.8.8.8. If we failed at this stage, check your routing setup for IPv4 forwarding. You may also need to set up NAT, which we can do ON THE WIFI MACHINE with:sudo iptables -t nat -A POSTROUTING -o wlan0 -j MASQUERADE sudo iptables -A FORWARD -i wlan0 -o eth0 -m state --state RELATED,ESTABLISHED -j ACCEPT sudo iptables -A FORWARD -i eth0 -o wlan0 -j ACCEPTReplace
eth0with the value we took note of before. Replacewlan0with the actual WiFi connection name fromip a(e.g., could bewlpXsY). It is also possible that without this step that you will not be able to actually load webpages or download from the internet even though the ping works. If you have this issue, try this and see what happens. - Ping an excternal domain name (e.g., Google’s):
ping google.com. If we failed at this stage, there is a failure with DNS resolution. - Optional, but recommended for stability. Go to Settings > Network > Wired > Click the gear icon (or create a new setup with “+”).
Go to IPv4 > Manual. Under “Addresses” add
10.42.0.xxto Address (wherexxis anything but1or0, I chose10… you should choose different values for different machines if you are going to use multiple). Add255.255.255.0to Netmask. Add10.42.0.1(or whatever you WiFi machine’s IPv4 address was that you took note of above). Press Add, and you should be good to go. This just manually adds what you want rather than having the system automatically look for it. I’ve had issues with the board not being able to find the network connection, but manually pointing it toward where it should look works. If the DNS does not resolve, you could also just manually give it Cloudflare’s (1.1.1.1) or Google’s (8.8.8.8) DNS server.
At this point if it works, then you have internet on your non-WiFi device! Sorry if it doesn’t work and good luck finding your solution to this painful problem…